How to Repair Torn Drywall Paper
by: Dale Cox
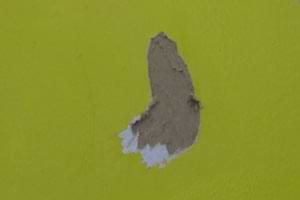
Drywall paper can be damaged when a wall is gouged while moving furniture or other common household activities. Water can also damage drywall paper, causing the surface to pucker and ripple. This can happen when removing wallpaper with a liquid stripper or when a leaking pipe or roof allow water to damage walls and ceilings.
The most important part of repairing damage like this is sealing it so it doesn't absorb any moisture from the repair compound and touch-up paint. If you don't seal the surface, the repair process will cause the undamaged layers of paper to bubble and ripple again and no amount of sanding will fix the problem. Use the following procedure for a trouble-free repair of torn drywall paper and check here for a video demonstrating how to repair torn drywall paper.
What You'll Need
#1 - Cut Away the Damage
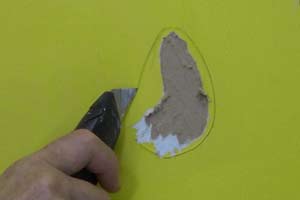
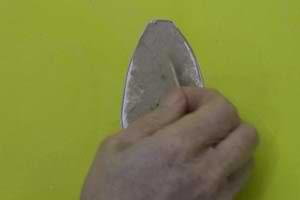
Cut all the torn or puckering paper away from the gypsum. Cut cleanly around the perimeter with a sharp utility knife or a razor blade. Tilt the blade out a little to cut at a slight angle through the paper. Gently peel the rough fringes of loose paper free, leaving a smooth surface behind.
If only the first few layers of paper are affected, cut down to the first undamaged layer. Otherwise, remove all the damaged and peeling paper from the gypsum core.
#2 - Seal the Drywall Paper
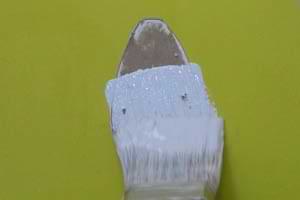
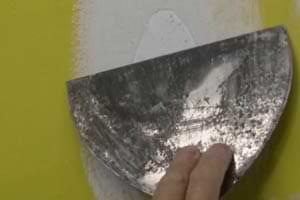
Cover the exposed gypsum and surrounding wall with a thick coat of oil or shellac-based primer-sealer. Stir the sealer or shake the can first to be sure it's mixed well and then apply two very thick coats with a brush. Let the primer dry for about an hour between coats and let the final coat dry completely before proceeding.
When the second coat of sealer is dry, use a joint knife to smooth out the raised paper fibers so they don't stick up and interfere with the repair compound. Go over the surface once or twice with the blade in a downward stroke to flatten the fibers out.
#3 - Apply a Coat of Joint Compound
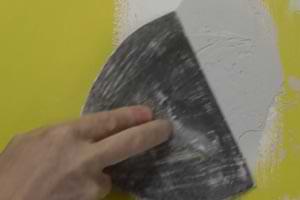
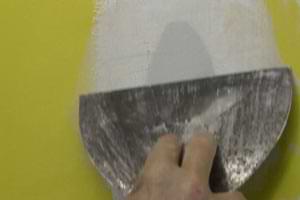
Mix some setting-type joint compound, also called mud, and use it to cover the damaged area. Apply a thick coat over the damage and surrounding wall. Holding the joint knife at an angle, "butter" the surface with back and forth strokes to leave about 1/8th inch coat of mud.
Immediately go back over the area to skim the excess mud from the surface leaving a thin coat covering the damage and surrounding area. Hold the knife at a 30° angle and press down hard but not hard enough to dig into the surface as you skim from one side to the other. Scrape the collected mud from the knife onto the rim of a mud pan with each pass and go over the whole area in parallel strokes.
Ignore any ridges left by the blade edge, these will be removed after the mud has dried. Around the perimeter of the repair, skim the mud as thin as possible to blend it into the surrounding wall. Let the mud set for about 30 minutes or until it has completely hardened.
When the mud has set, shave off any ridges with upward strokes of the knife blade. Follow with medium grit sandpaper to lightly sand the whole patch smoothing out any other bumps or protrusions. At the edges, sand to feather it with the surrounding surface.
#4 - Apply a Second Coat of Joint Compound
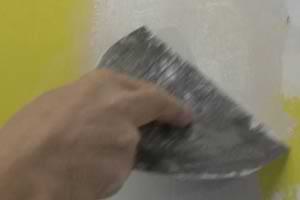
Wipe the sanding dust off with a damp rag and apply a second coat of mud. Cover with a thick coat and then skim off the excess stroking in the opposite direction from the first coat. If you skimmed the first coat vertically, smooth the next with horizontal strokes. This will help to level out an uneven surface in your repair.
Let the mud dry and if necessary apply another coat to build up the patch hiding the damage while also smoothing out the area. As before, shave off any ridges first and sand before skimming the patch again. With each new coat, stroke in the opposite direction from the previous application.
#5 - Sand and Touch Up the Paint
Let the final coat of mud dry well and then sand it using light pressure in wide back and forth strokes to smooth and blend the surfaces. Along the edges, sand harder to feather the patch with the finished wall surface but avoid digging in. Wipe the sanding dust away with a damp rag being careful not to wipe away the patching compound.
Let the moisture from the rag dry and prime the patch. If you are using flat latex finish paint it will be self-priming. If you are using semi-gloss or other shiny paint, prime with flat latex paint or a latex primer first before touching up the wall paint.