How to Repair Deep Plaster Damage
by: Dale Cox
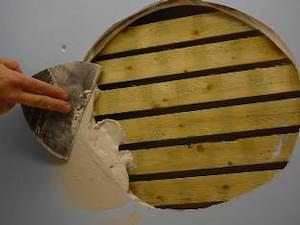
When plaster is exposed to lots of water from a roof or plumbing leak, the brown, scratch, and white coats will usually crumble and fall off the lath as the damaged area dries out. This missing plaster can be replaced to restore it to its original condition. The process on this page can be used to make this type of repair.
#1 - Choose Your Materials
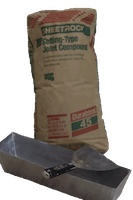
Use setting-type joint compound, also called mud, for this repair. Ready-mixed compound will not be hard enough and it will shrink when applied in thick coats.
If you have a small area to repair, use a 30 minute setting compound like Durabond45®. For larger areas, use a slower acting compound like Durabond90® to allow time to work before it sets.
Check this link for mixing setting compound and when you're ready, pour some of the powder into a mud pan. Add clean, cool water slowly while stirring with a putty knife to get a thick mud that holds its shape. Only mix as much as you can use right away and work quickly to apply it before it begins to set.
#2 - Remove the Damaged Plaster
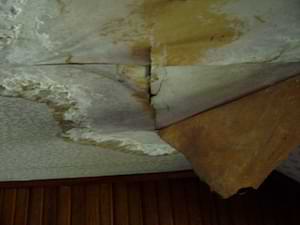
Remove all the loose, crumbling wall material using a stiff putty knife to dig it out. Work out in all directions until you reach sound, undamaged plaster. If the damage is due to water exposure, apply a coat of primer-sealer to the surrounding plaster. Let it dry completely and then apply a second coat. Sealer will block the water stains and ensure a good bond with the new patching material.
#3 - Fill the Damaged Area
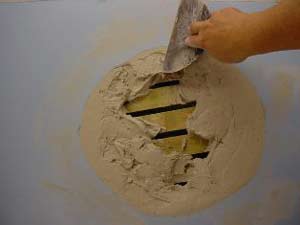
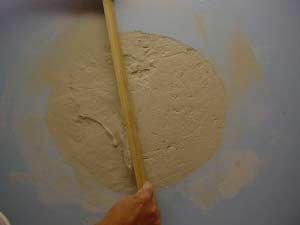
Use a small, 6 inch joint knife to apply the mud to the damaged area working from the outer edges into the center. Push hard with the blade to make good contact with the surrounding plaster and force it into the lath. Use enough mud to fill the whole void to overflowing.
Before it can harden, smooth out the overflowing mud to level it with the surrounding surface. Use a straight edge like a piece of 1x2 board, long enough to span the whole area. Rest the board on the surrounding surface and draw it across the wet mud to skim off the excess. If necessary, this can be done in stages on larger areas, removing the collected mud as you go. Go over the patch a couple times with the board to level it as much as possible. Don't let the mud patch remain higher than the surrounding surface or it will leave a very noticeable bulge in the finished repair.
#4 - Level the Repair
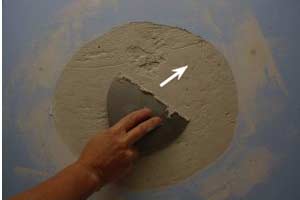
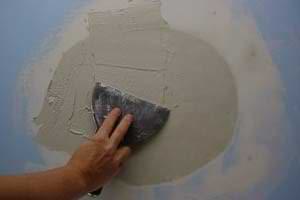
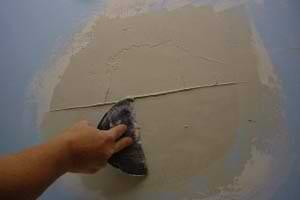
Let the mud set for about an hour and scrape off any roughness using the joint knife in an upward stroke. When the edges around the repair turn white, lightly sand to smooth and feather them into the surrounding surface. Don't try to smooth out the surface here, just knock off any peaks and ridges in the set mud. Brush off the dust and wipe gently with a damp rag to remove the residue.
With the bulk of the damage filled, a few skim coats of setting joint compound can be applied to build up a smooth finish. Mix a small batch and spread a thick coat over the whole patch be sure to overlap the surrounding plaster.
Immediately go back and skim the excess off using the joint knife held at about 30°. Make parallel strokes across the area, returning the collected mud to the pan between each stroke. Ignore any ridges left by the knife edge, you can remove them in the next step. Let the mud set for 30 minutes or until it has hardened.
#5 - Smooth the Repair
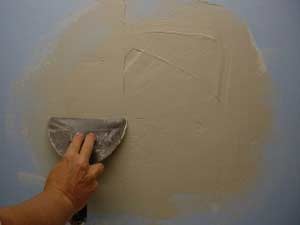
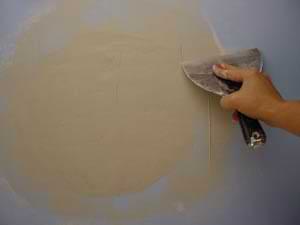
Scrape off any ridges or other roughness in the surface using the joint knife in an upward stroke and then skim coat the repair area again. Apply the mud stroking in the opposite direction from the previous coat. If you used horizontal strokes last time, use vertical strokes with this application. Reverse skimming like this with each coat will help create a level surface and eliminate any ripples or bulging.
Apply as many additional skim coats to the area as needed to smooth and blend the patch with the surrounding surface. Overlap the outer edges of the patch with each new coat to feather it into the existing surface. Depending on the degree of damage, the whole repair could require 5 or more applications of mud to build it back up.
To make sanding easier and produce a smoother finished surface, the last skim coat can be done with ready-mixed joint compound. Allow this final coat to set and dry completely before trying to sand it.
#6 - Sand and Touch Up the Paint
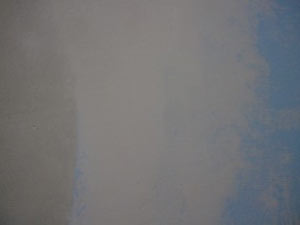
Sand the dry joint compound lightly with 120 sandpaper. Start on one side of the patch and sand in wide arching strokes to gradually smooth out imperfections. Be careful not to remove too much compound around the edges. Sand lightly to feather a smooth transition between the two surfaces.
Brush all dust from the surface and lightly wipe with a damp rag before priming and painting. If you are using flat latex finish paint, you can use it to prime the repair. If you are using semi-gloss or other shiny paint, prime with flat latex or a latex primer first.
 Repair Loose Plaster
 Three Coat Plaster Repair