How to Do Crackle Paint on Furniture
by: Dale Cox
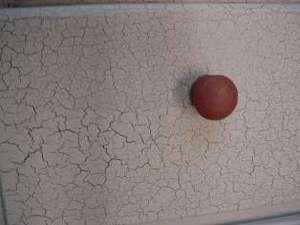
Crackle is a faux painting process often used to decorate furniture in need of a new finish because of damage or just to make the piece more interesting. It can be applied to any paint-able surface but it's usually reserved for small features and not for large spaces like walls.
This effect resembles cracking paint and usually includes contrasting paint colors for added effect. It may also be used on surfaces like bare wood or brick using a clear base coat instead of paint to reveal the natural beauty of the surface underneath.
Creating the Effect
There are three basic steps to creating a crackle paint finish:
- #1- application of a base coat of paint, usually a bright color
- #2- application of a coat of crackle medium which dries clear
- #3- application of a top coat of paint, usually in a contrasting color to the base coat
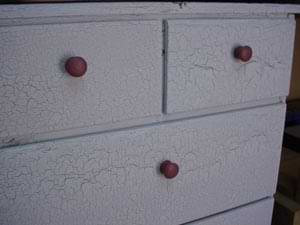
Apply the base coat to the piece and when it is completely dry, apply a liquid crackle medium. As the medium dries it becomes clear allowing the base paint color to show through. Apply the topcoat over the dry crackle medium and as it goes on, the paint will begin to immediately separate. This part must be done carefully to avoid disturbing the cracks as they form or the effect can be ruined.
Choosing the Colors
For the base coat, choose a color that will accent and contrast with the top color. In the example pictured here, we use a deep rose color base to contrast with the white topcoat. You can choose any color combination you find appealing but if you need a little inspiration, a chart from a paint supplier can be helpful in finding colors that play well together.
If you want a little pop in the finish, try a metallic base paint or a very shiny finish like high-gloss to contrast with the topcoat. To set off different features of the piece, base coat small parts like drawer handles but don't apply the crackle medium or topcoat. When you're done and you reassemble the piece, these parts will compliment the overall look and tie the whole piece together nicely.
Always buy all the paint you will need for this project at one time, it may be impossible to get the exact color mixed again if you need more. For an average sized piece of furniture like a dresser, a quart of paint will usually be enough for each coat. If you're making a radical change to the color, you will need more for multiple coats so it may be best to buy a gallon.
Choosing the Crackle Medium
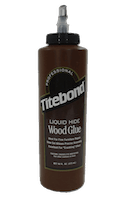
We recommend you use liquid hide glue as your crackle medium to get consistent cracks in the finish. Some specially made mediums may not work as well to create an even effect. The glue is rendered from cowhide and is available in a powder or liquid form. For ease of use and the best consistency, choose the liquid form of hide glue. Hide glue can be used with either latex or oil-based paints but if you choose to use another medium, check the container label for the recommended compatible paint coatings.
#1- Prepare and Apply the Base Coat
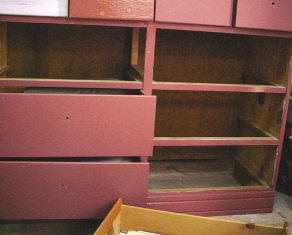
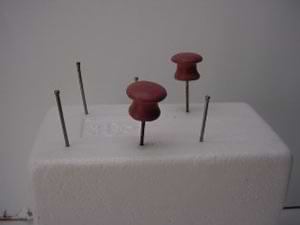
Prepare the piece doing any repairs and priming first and then apply a base coat of paint. For a list of preparation procedures for most surfaces see this link. If the existing paint surface is sound and you like the color, you can skip the preparation and base coating processes and start with the application of the crackle glue.
If your project is directly adjacent to other surfaces not to be crackled, you will want to mask them using painter's masking tape. Use several strips of tape to create at least a 3 inch barrier on all surrounding surfaces.
With furniture projects, disassemble the piece as much as possible by removing drawers, doors, handles, etc. Paint your project with the base coating and allow it to dry for 24 hours or more. Be sure to give the paint plenty of time to dry before proceeding with the glue coat. If it's too soft, the application of the thick hide glue will loosen the paint film and cause it to sag and wrinkle.
#2- Apply the Crackle Medium
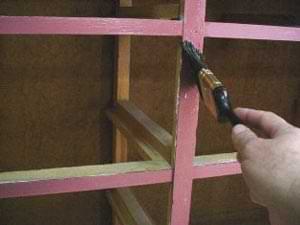
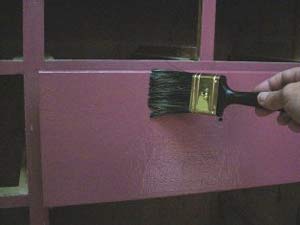
Apply a thick coat of the crackle medium using a brush or roller. The thicker the application, the larger the cracks will be in the finish. Use a sausage roller to coat large area and a paint brush for smaller features.
Coat the project in logical sections. For example, coat all rails and stiles before moving to the drawer fronts, side panels, and top. Finish each section completely before moving to the next.
Allow the crackle medium to dry thoroughly before continuing with the topcoat. Liquid hide glue can take as little as 24 hours or up to 3 days to dry completely depending on the surrounding temperature and humidity. As a rule, specially made mediums will dry much faster than natural glue. Check the label for this information.
#3- Apply the Topcoat
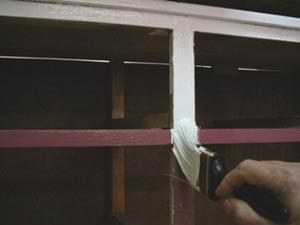
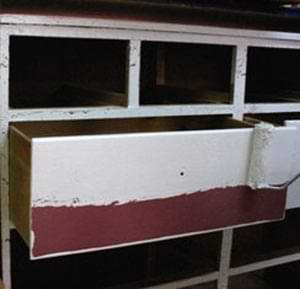
Be sure the glue coat is completely dry and then apply the topcoat of paint. If you want large cracks in the finish, use a very thick coat of paint here. If you want smaller, finer cracks, use a thin paint coat.
Again, work in logical sections and use a brush for smaller features and then roll the larger areas. Start by brushing all the rails and then do all the stiles. Next, use a roller to do the side panels and the top. Finish by rolling the drawer fronts and any other large parts.
Avoid overlapping the paint where two sections meet while you work to prevent disturbing the cracking process. Avoid brushing or rolling back over the paint more than once or twice. The cracking will begin quickly and the effect will be ruined if the surface is disturbed during this process.
Correcting Mistakes
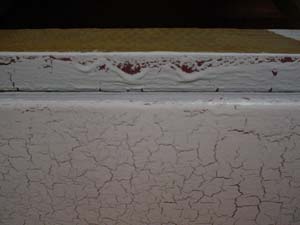
Avoid an extremely thick topcoat on vertical surfaces where the paint will tend to sag and run. If sagging occurs, immediately wipe the paint off with an absorbent rag soaked with the proper solvent. Don't wipe too hard with the wet rag to avoid disturbing the crackle medium underneath. If the medium rubs off, apply another coat to the bare spot and let it dry before starting with the topcoat again.
Don't touch the final paint coat until it has dried completely. After about 24 hours you can handle the piece and apply a clear coat to protect the surface if you want to. If your project is an item that will be handled frequently, a clear shellac or varnish is a good idea to help preserve your work.
 Faux Painting Glaze