How to Paint a White Ceiling
by: Dale Cox
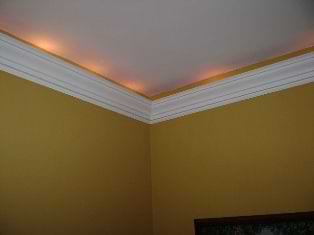
This page contains instructions for using masking tape to make straight paint lines between walls and ceilings. With a little care to prevent pulling the paint off when removing the masking tape, this method will work well if you have trouble painting straight lines freehand. Check here for a video of this ceiling painting process.
Choosing Ceiling Paint
Using the best paint a brand offers will make painting a white ceiling easier and improve coverage over the cheaper alternatives. It can take as many as four or more coats of some low grade paints to cover completely, while quality paint will cover most surfaces with just one coat. The better paint will be a little more expensive but the labor saved will more than justify the extra cost. Most paint manufacturers offer a professional-quality paint grade like this in their line of products.
Use flat latex paint when masking to paint straight lines. This will minimize the chances of peeling and greatly improve the finished results over a shiny paint like semi-gloss. Flat latex is easy to touch up and repeated coats will not flash when the paint has dried. Shiny paints, on the other hand, will show roller and brush marks, especially with repeated applications. In addition, a shiny ceiling can be a distraction rather than an improvement.
#1 - Paint the Walls First
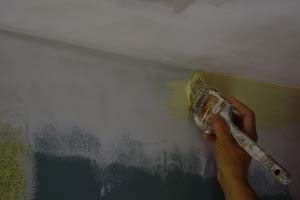
If the walls are already painted, skip this step. Otherwise, paint the walls of your room first. When brushing the wall color next to the ceiling, let it overlap a bit but avoid getting big gobs on the ceiling as much as possible. If coverage is an issue, use two thin coats of paint rather than one thick one to limit buildup. This will create a crisper line between paint colors and minimize the color that must be covered with the white ceiling paint.
#2 - Mask the Walls
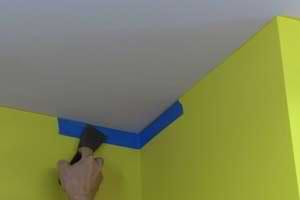
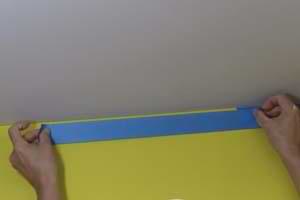
Let the wall paint dry for about a week before attempting to apply the masking tape. When you're ready, use painter's masking tape at least 1½ inches wide. Apply short strips of tape to enable better control of the line and keep the tape as straight as possible. Tape around all the corners first.
Next, tape the straight runs along the walls. Overlap the ends of each piece of tape by an inch or so. To ensure a good bond, use a clean putty knife to press the tape to the wall. Push down lightly on the blade and pull it along. Using lighter pressure on freshly painted walls to minimize the chance of peeling. Continue around the ceiling in this manner to finish taping the walls and then tape around any light fixtures or air duct covers in the ceiling.
#3 - Brush Paint Along the Tape
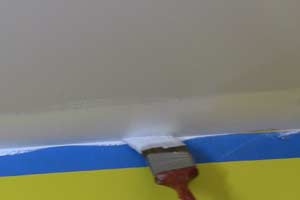
Use good quality white paint and brush a thin coat about three inches wide around the perimeter of the ceiling and any fixtures or vents. Use only a thin coat of paint along the edge of the tape to help prevent bleeding underneath. If more coats are required to cover deep colors, let the first coat dry completely before applying another.
#4 - Remove the Tape
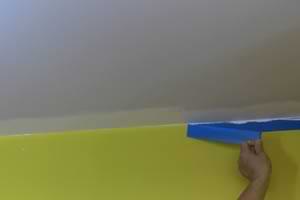
Pull the tape off the walls before the final coat of brushed paint can dry. Pull the tape slowly and at a sharp angle to help minimize peeling. If necessary, run the point of a putty knife along the tape to break any paint film preventing clean separation from the ceiling line.
#5 - Roll the Ceiling
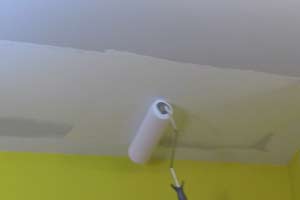
When the brush work is done, paint the remainder of the ceiling with a roller. Roll up to and just over the brushed paint but be careful near the walls to avoid bumping them with the roller. Let the paint dry and check the finish for good coverage.
When covering a ceiling with white paint, the roller will often leave a thinner coat than the brush does. This will be quite obvious after the paint has dried with a distinct solid band of white around the perimeter and a grey appearance elsewhere.
If you find you can see the difference between the brush work and the roller finish, apply another coat of paint with the roller. Again, roll just to the edge of the brushed paint but don't bump the walls. A second coat will usually achieve even coverage over the entire ceiling, especially if you're using a quality flat latex paint.