How to Repair Water-Warped Drywall
by: Dale Cox
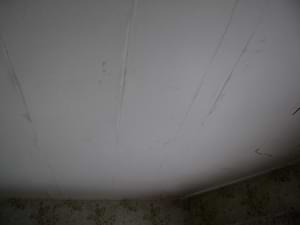
When exposed to a lot of water, drywall tends to warp as the gypsum swells. When it dries, the gypsum may harden into a bulging wall or ceiling surface. This bulging gypsum will tend to be harder than before it got wet. Bulging drywall like this will always need to be cut out and replaced to restore a flat surface.
What You'll Need
#1 - Cut Out the Damaged Drywall
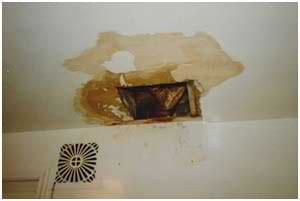
Draw a square around the damage and cut out the affected drywall. Trace the nearest existing drywall seams and wood framing to guide your cut. Using the existing layout of the drywall will give you framing to attach the replacement piece and make it easier to cut the hole square. Use a utility knife to score the drywall over wood framing. Score repeatedly with a sharp blade until you cut completely through the gypsum and backing paper. To cut across the areas where the wall is hollow a drywall saw can be used to make cutting easier. Check for electrical wires or plumbing before using a saw like this. Remove any screws or nails holding the drywall up and pull the damaged area free.
#2 - Scrape Off Loose Paint and Seal the Area
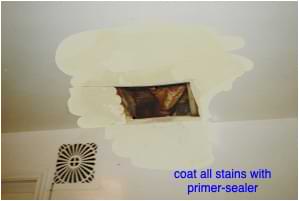
Scrape off all damaged wall material surrounding the new hole and prime the whole area with a primer-sealer. A sealer is required to insure a good bond between the old surface and the new patch. In addition, any water stains on the surrounding surface will burn through the new patching material and touch-up paint if a sealer isn't applied.
It's best to apply two coat of sealer for severely damaged drywall to be sure no residual stains burn through the repair. Because sealers are fast drying, the first coat doesn't have to dry completely before the another is applied. Twenty minutes or so is usually enough time to wait before second coating. Let the sealer dry thoroughly, an hour or so, before proceeding.
#3 - Cut and Install a New Drywall Patch
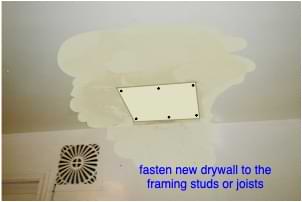
Cut a new piece of drywall of the same thickness and fit it into the space. Match the edges of the patching piece to the surrounding drywall edges. For example, if a drywall edge around the square hole is open with the gypsum core visible, cut the patch with an open edge to match. If it's a wrapped finished edge, mate it with a finished edge on the new drywall. This will prevent an uneven joint where the two meet which would cause a ridge or lump in the finished repair.
#4 - Tape the Seams Around the Patch
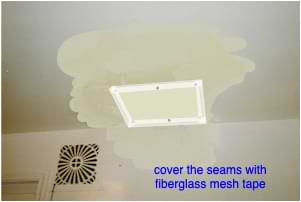
Tape the seams between the new patch and the surrounding drywall with mesh drywall tape. Overlap the ends of the tape at the corners.
#5 - Apply a Coat of Joint Compound
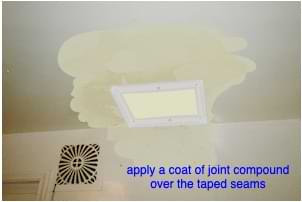
Mix setting-type joint compound and apply it over the taped seams. We recommend setting-type joint compound for this type of repair. Ready-mixed compound will be vulnerable to any residual moisture in the wall material and may bubble up or peel off the finished repair.
Cover the taped seams with a thick coat of mud and immediately skim off the excess stroking lengthwise. Don't press too hard with the joint knife to avoid dislodging or tearing the tape. Leave a coat of mud thick enough to fill in the mesh but skim it thin along the edges to make finish sanding easier. Let the mud set until hardened.
#6 - Apply More Joint Compound
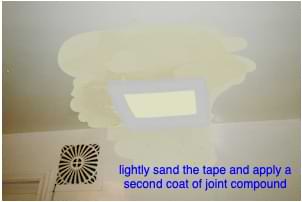
When the first coat of mud has completely set, lightly sand the tape fibers with 120 grit sandpaper. Go gently along the tape using only one or two light strokes to just scuff off the protruding fibers. Too much sanding will tear the tape making it harder to cover, not easier. You just want to smooth over the fibers so they don't show through the next coat of mud.
Mix and apply another thick coat of joint compound stroking across the tape to cover it completely. Immediately skim off the excess mud stroking lengthwise along the tape. Be sure to skim the outer edges to smooth them with the surrounding surface. Let the mud set and examine the finish to see if the tape is completely covered and the seams are level.
If another coat is needed, you can use ready-mixed instead of setting compound. This will make final sanding easier and produce a smoother finish. Using a larger joint knife for the final coat will also make it easier to smooth out the finish.
#7 - Sand and Touch Up the Paint
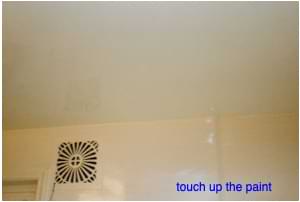
When the final coat of joint compound is completely dry, sand the whole patch. Be careful sanding around the edges to avoid digging into the paper surface while you're trying to smooth out rough edges. Lightly sand across the edges to feather a smooth transition between the two surfaces.
Brush all dust from the surface and wipe with a damp rag before priming and painting. If you are using flat latex finish paint, you can use it to prime the repair. If you are using semi-gloss, oil-based or other shiny paint, prime with flat latex or a latex primer first.
