How to Repair Minor Drywall Water Damage
by: Dale Cox
When water leaks onto drywall it can cause minor damage like stains on the paint finish; very severe damage like warping and bulging in the wallboard; or some degree of damage in between such as bubbling joint compound and peeling tape and paint. To repair major damage like drywall warping check here.
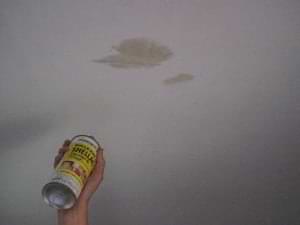
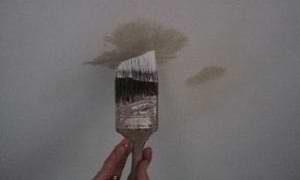
Water-Stained Drywall
Water stains caused by occasional or minor leaks are easy to repair, just touch up the paint. Use a primer-sealer like orange shellac to block the stain first so it won't bleed through the new paint. On a white ceiling, using a spray can of white primer instead of shellac will make touching up easier but it will probably take longer to dry.
Coat the stain with the primer twice to be sure it is completely sealed. Shellac dries in 10 or 15 minutes and can be second coated quickly. White spray primer will probably take longer to dry so check the can for re-coat instructions. Let the second primer coat dry completely before touching up the paint. Whenever possible use the original paint for touch-ups to avoid flashing.
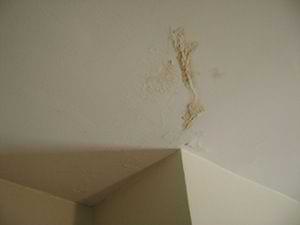
Peeling Drywall
To repair more serious water-damaged drywall problems like peeling paint and tape use the following process. We recommend setting-type joint compound for this type of repair. While Ready-mixed joint compound can be used for a final coat on most drywall and plaster finishing, it will be vulnerable to any residual moisture in the wall material and may bubble up or peel when used as the primary compound for water damage repairs.
What You'll Need
#1 - Scrape Off Damaged Wall Material
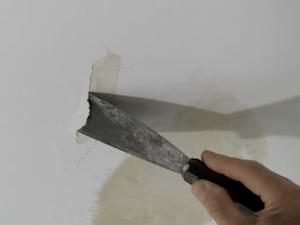
Remove flaking, peeling joint compound and paint using a putty knife to scrape off all the damaged material. Remove any peeling joint tape by cutting it free. Trace the tape back to just outside the damaged area and cut straight across it with a utility knife or the corner of the joint knife. Pull the loose tape off and scrape away any remaining loose joint compound.
#2 - Seal the Damaged Area
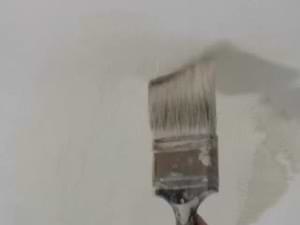
Wipe or vacuum away the scraping dust and coat all the affected wallboard with primer-sealer to block stains and seal the surface. Let the primer dry completely before proceeding.
#3 - Apply a Coat of Joint Compound
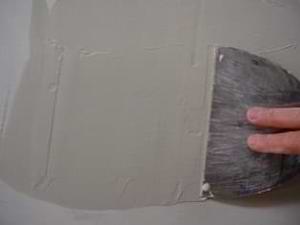
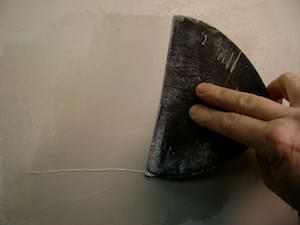
When the sealer is dry, repair the damaged area using setting-type joint compound, also called mud. Cover everything with a thick coat of mud and immediately skim off the excess to level it out with the surrounding surface.
Go over the damaged area in parallel strokes with the joint knife to remove all but a thin coat of joint compound. Ignore any ridges or minor roughness in the surface and let it set before proceeding.
If you're dealing with exposed drywall seams in addition to water damage, apply fiberglass joint tape over the crack. Overlap onto the undamaged tape a bit on each end and immediately go back to skim off the excess leaving a thin covering over it. Follow the process at this link to finish the new joint tape.
#4 - Apply Another Coat of Joint Compound
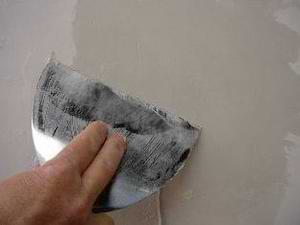
When the first coat of mud is dry, sand the patch lightly to remove any roughness in the surface and wipe the dust with a damp rag. Cover the entire patch and surrounding wall with another thick coat of mud. Spread it out to overlap the edges of the first mud coat. Immediately skim off the excess stroking perpendicular to the first coat to smooth the patch and blend it with the surrounding surface.
If the repair is too rough to sand smooth after two coats of joint compound, apply a third. When the mud has set, apply a final, thin skim coat over the whole thing using ready-mixed joint compound. Because it's a softer material, ready-mixed makes sanding a perfectly smooth repair easier than with harder, setting-type compound.
#5 - Sand and Touch Up the Paint
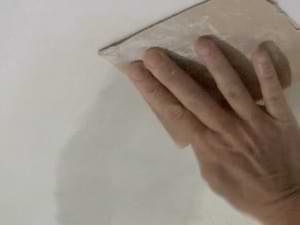
When the repair is completely dry, sand it lightly with 120 or 220 grit sandpaper. Go over the edges to feather a smooth transition between the new patch and the surrounding surface.
Brush all dust from the surface and wipe with a damp rag before touching up the paint. Flat latex paint can normally be used on wall and ceiling repairs both as a primer and finish coat, but if a water stain appears after it has dried, a sealer will be required to cover it. In addition, a sealer coat will be required before using any glossy or oil-based finishes. Because of the risk of staining, it's best to avoid any extra work and just seal the repair first before touching up the paint.