How to Finish Inside Drywall Corners
by: Dale Cox
This page contains instructions for finishing inside drywall corners using paper tape and ready-mixed joint compound. Check here for a video of this drywall finishing process.
What You'll Need
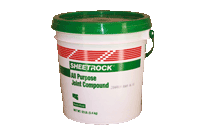
We use ready-mixed joint compound, also called mud, for this job. Because setting-type compound will harden too quickly, it can cause problems if you don't move fast enough to finish before it sets. Ready-mixed mud comes wet in a bucket and it dries rather than setting, providing plenty of working time. A small, 1-gallon bucket will typically finish one wall or a ceiling but to do a whole room, a 5-gallon bucket will be needed.
#1 - Apply Joint Compound to the Corner
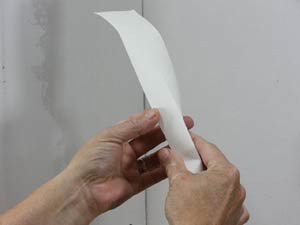
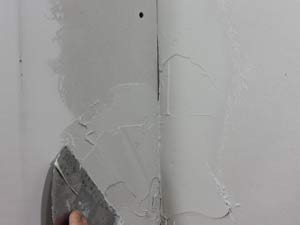
Use a roll of paper drywall tape to finish inside corners, not fiberglass mesh. Start by cutting a piece of tape a little longer than each corner to be finished. Cut the ends of the tape straight across so when you put it in place, it meets the end of the corner squarely. Fold the tape along the center crease and set it aside while you apply the mud to the corner.
At the corner, use a 6 inch joint knife and mud pan to apply a thick coat of joint compound to both walls. Work the entire length of the corner at once. Fill from the corner, out onto the drywall several inches with about ¼inch of mud.
#2 - Apply the Joint Tape
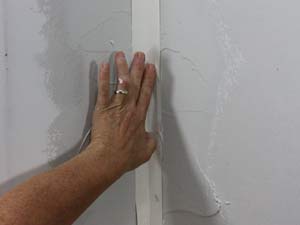
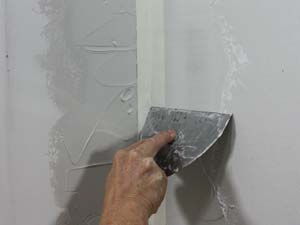
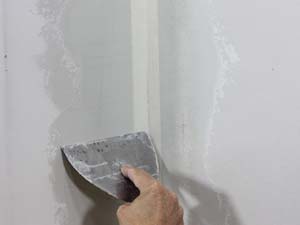
Keep the tape folded and starting at one end, place the squared end into the corner so it's butted to the ceiling or adjacent wall. Unfold the tape a bit and using your finger push the crease into the corner along the entire length of the wall. Gently press the paper into the mud so it makes good contact on both sides. At the end of the corner, cut the excess tape to fit squarely against the floor or adjacent wall.
Use the joint knife and working on one wall at a time, stick the tape down tightly. Hold the blade at about 30° and starting at one end of the corner, pull it along pressing down hard to squeeze the excess mud from between the tape and drywall.
Make a first pass on one side of the corner and then go back and do the same on the other side. Pay attention to keep the knife blade tight to the corner along the whole length of the wall. Scrape the collected mud from the knife frequently to keep the blade clean and avoid spreading joint compound to unwanted places.
Immediately go back over the tape with the joint knife again to remove any excess mud. Do one side of the corner and then the other. Press harder with the blade to be sure the tape is perfectly flat with no bubbles or gaps. If you leave too much mud under the tape, it can pop free over time with the normal expansion and contraction in the wall.
Be careful not to tear the tape with repeated strokes. If the tape bunches up or tears, straighten it out and smooth it again with the knife, add a little more joint compound if necessary. Be sure the tape is tight and smooth against the drywall along the whole corner before moving on.
#3 - Apply a Second Coat of Joint Compound
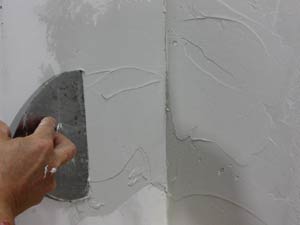
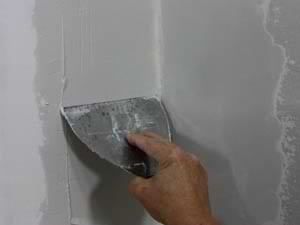
Wait about 12 hours to allow the mud to dry completely and then apply a second coat. Use the same joint knife to apply a thick coat over the tape and both walls. Spread the mud so it overlaps the outer edges of the first coat.
Working on one side of the corner at at time, draw the joint knife along the length to smooth the mud and remove the excess. Keep the blade tight to the corner and use moderate pressure. Clean the collected mud from the blade frequently. Go back and run the blade over the outer edge of the mud to blend it with the drywall.
Don't be concerned that the mud doesn't come together at the corner in a perfectly smooth finish. The edge of the knife blade will ruffle the point where the two meet. This will be corrected in the next step.
#4 - Apply a Finish Coat of Joint Compound
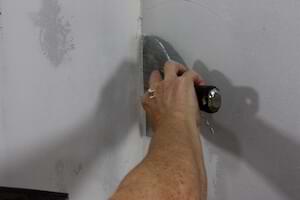
Let the second coat dry completely and then use the joint knife to scrape off any rough mud in the corner. Apply a thick coat of mud to one wall and immediately skim off the excess to smooth out the finish working horizontally out from corner. Go over the outer edge of the mud to blend it with the drywall. Let the mud dry completely before doing the other wall.
When the mud dries, use the joint knife to scrape off any buildup in the corner and then do the other side. Apply a thick coat of mud and smooth it out with the joint knife. Again, draw the blade out horizontally from the corner and be sure the outer edge of the mud blends smoothly with the drywall. Let all the mud dry completely before proceeding.
#5 - Sand and Prime the Drywall
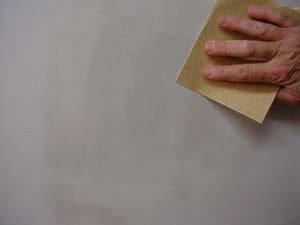
When the mud dries, sand it using the techniques described at this link to smooth the surface and feather the edges into the surrounding wall. Be careful sanding along the edges not to dig into the drywall. Wipe the dust from the walls with a damp cloth before priming and painting.
If there are any pits or scratches in the finish, use a high-build drywall primer for a first paint coat. Otherwise regular drywall primer will do if you're using flat latex finish paint. If you are using semi-gloss or another shiny paint for finishing, use a high-build primer or 2 coats of regular drywall primer first.
 Installing Metal Drywall Corner Bead
 Finishing Paper Drywall Corner Bead