How to Finish Recessed Drywall Joints
by: Dale Cox
This page contains instructions for finishing recessed drywall joints with paper tape and ready-mixed joint compound. Recessed drywall joints are formed when two sheets of drywall are mated together along the finished edges. This forms a slight depression between the sheets that can be taped and filled with joint compound to create a smooth, level wall or ceiling surface. Check here for a video of this drywall finishing process.
What You'll Need
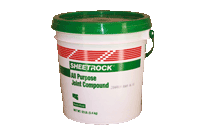
Use ready-mixed joint compound, also called mud, for this job. This is a wet compound used straight from the container. It dries slowly and is soft relative to other types of mud like setting-type compound. Because it dries slowly, it provides plenty of time to work with tape to finish drywall seams.
#1 - Cut the Tape and Mud the Joint
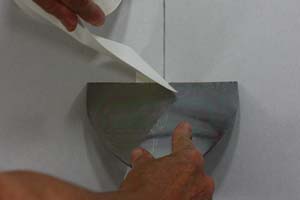
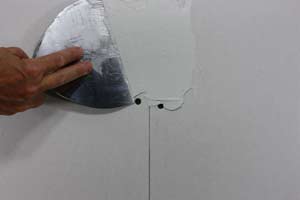
Use paper drywall tape to cover the seam between the two drywall sheets. Unroll the tape along each joint to be finished and cut it a little longer than the required length. Cut the paper squarely using a joint knife as shown to press firmly while pulling back quickly on the tape to tear it.
Work on one joint at a time and cover it with a thick coat of mud. Use crossing strokes with the blade to coat the seam and drywall from one end to the other with about ½in of mud.
#2 - Apply the Joint Tape
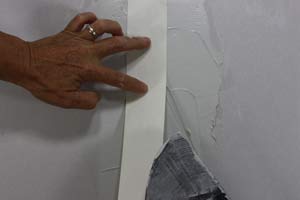
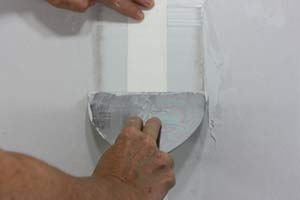
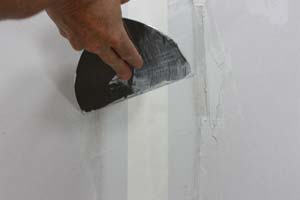
Place a strip of tape squarely at one end of the seam, pressing lightly to stick it into the mud. Pull it out along the remainder of the seam, pressing lightly along the length. At the other end, cut the tape off squarely.
If the other end is at a floor, you can cut it a bit short of the end but make sure the baseboard molding will cover it. If it ends at a corner with another wall or ceiling, cut the tape squarely so it butts right up next to the other surface.
Hold a 6 inch joint knife at about 30°, and starting a few inches from one end, draw the knife along while holding the end of the tape down with your other hand. Press hard enough with the knife to squeeze out all but a thin coat of mud from between the wall and tape to stick it down. The paper will become soft from the wet mud so be careful not to tear it with the knife blade.
Stroke back in the opposite direction at the end to finish it to the corner before continuing down the seam to the other end. Go back over the whole seam a second time to squeeze as much mud as possible from under the tape and stick the tape down tightly.
Return the excess mud to the rim of the mud pan as it collects on the knife blade to avoid spreading it to unwanted places. Go over the outer edges of the mud to skim off any buildup there and avoid unnecessary sanding when you're done.
#3 - Apply a Second Coat of Mud
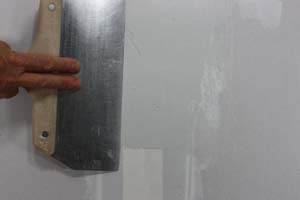
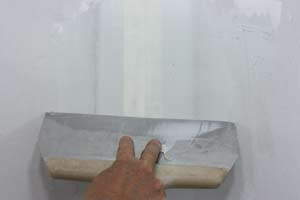
When the first mud coat dries, check for any bumps or other roughness in the surface and scrape them off with the joint knife. Then use a wider joint knife to apply a second coat of mud over the seam.
Apply the mud in crossing strokes to cover the joint and spread out over the edges of the first mud coat. Immediately skim off the excess mud with the joint knife. Rest the blade on the high point along each side of the joint while "floating" the blade over the center to level it with the surrounding wall.
Don't press too hard on the center of the blade. This will cause it to bow and create a perceptible dip in the finished seam. Allow the mud to dry and repeat this step as many times as needed to completely level the joint and blend it with the drywall.
Ensure a Level Joint
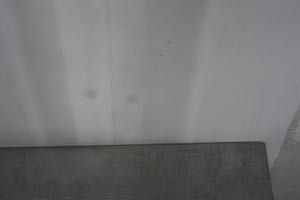
Check to be sure the seam is level by holding the knife perpendicular to the wall surface. Look for any gap between the blade and the wall that would indicate the depression is not quite level. Apply a third coat of mud, and if necessary, a fourth to level out the joint.
#4 - Sand and Prime the Drywall
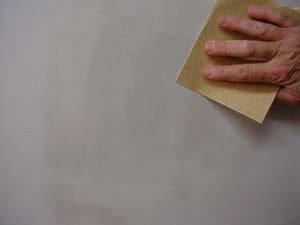
Let the final coat of mud dry for 6 to 12 hours and then sand with medium grit sandpaper to finish the job. Go over the edges of the mud and onto the bare drywall lightly with the sandpaper to avoid digging into the surface. Remove the sanding dust and prime the new joint compound and bare drywall with drywall primer.
 Finishing Inside Drywall Corners