How to Splice Electrical Wiring
by: Dale Cox
Check permit requirements before beginning electrical work.
How to read these diagrams.
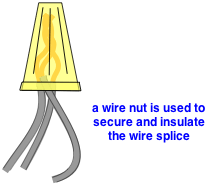
When doing remodeling work it may be necessary to splice wires to relocate circuits or add new devices. A splice is the joining of two or more wires by twisting them together. A plastic connector, called a wire nut, is used to insulate and secure the splice. Use a wire nut size appropriate for the number and gauge of the wires you're using.
Wire splice connections must be housed inside a covered electrical box, known as a junction box. A junction box is usually square and made of metal. When installed, the box must not be concealed inside walls or ceilings so it remains accessible at all times.
By code, the total number of conductors allowed in an outlet box, known as box fill, is limited based on the box size and wire gauge. Conductors include not just wires but devices like switches, receptacles, and some other metal parts as well. The total of all conductors must equal less than the cubic inch capacity of an outlet box.
To calculate box fill each 14awg wire entering the box is multiplied by 2. Twelve gauge wires are multiplied by 2.25. All ground wires count as 1 multiplied by the largest wire gauge in the box. For example, all ground wires entering the box equal 1 X 2.25 for 12awg wire.
Devices including switches and receptacles are multiplied by 2 times the largest wire gauge in the box. Any metal clamps are counted as 1 times the largest wire. Pigtails and other connections that are self-contained in the box are not counted. For a more detailed explanation of how to accurately count conductors check this before adding new wires or devices.
The Electrical Junction Box
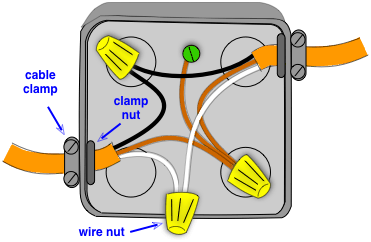
A junction box has several holes with removable plugs in the sides and back. Choose holes conveniently located for the cables you are splicing and remove the plugs. Have a cable clamp for each one and loosen the screws to open the collar. Pull about 8 to 10 inches of cable through the clamp and tighten the collar around it so it's firmly held but not pinching the plastic.
Split the sheathing on the cable leaving about 1/4in still covering the wires. Cut the sheathing to remove it and strip off about 3/4 inch of the plastic insulation from the end of each wire. Avoid nicking or scratching the copper wire while removing the insulation.
Insert a clamp, with wires attached, into the junction box hole and from inside the box, push the included nut over the wires and onto the clamp threads. Turn the nut as far as possible onto the threads and then use a screwdriver and hammer to tap it down until it's tight.
Splicing the Wires
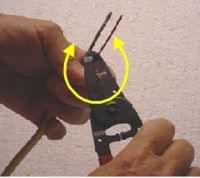
The best way to remove the insulation without nicking the copper is to use a wire stripper. Most strippers have a set of cutters for the most common gauges. Gently twist the strippers back and forth once or twice, and pull the insulation straight off the end.
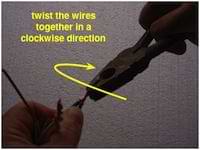
Hold the wires together so the ends match up and twist them together in a clockwise direction using lineman pliers. Make 1 or 2 turns to form a solid union being careful not to dig into the copper with the plier jaws.
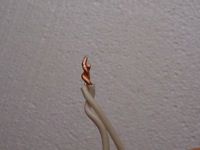
If the ends of the wires are too far apart, the nut won't go on properly. Be sure the ends match up before twisting them together. If necessary, snip off a bit at the tip to get them even before attaching the connector.
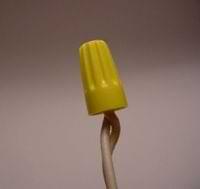
Thread the connector clockwise onto the twisted wires, being sure no bare copper is exposed at the bottom. Pull gently on the connector to be sure it's secure. You can wrap electrical tape around the wires and cap for extra security or just push the splices into the back of the box and attach the cover plate.
 Find an Electrical Source
 Add a New Light Fixture
 Calculating Circuit Load