How to Install Drywall Corner Bead
by: Dale Cox
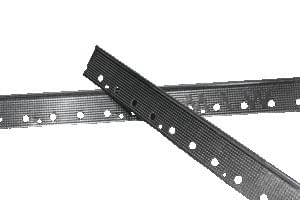
This page contains instructions for installing metal drywall corner bead and then finishing it with joint compound. Check here for a video demonstrating how to install metal corner bead and here for a video demonstrating how to mud drywall corner bead.
Outside drywall corners can be finished with either metal or paper bead but metal is the easiest to install and by far the best choice for durability and professional results. Drywall sheets usually don't come together perfectly at the corners, a metal bead forms its own corner to cover any irregularity in the union. Paper corner bead can't do that and the finish may appear wavy and irregular when finished.
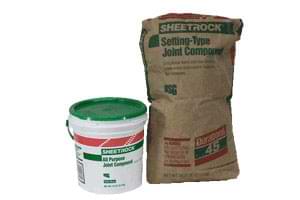
For a durable finish use setting-type joint compound, also called mud, for the first coat over the metal. Ready-mixed compound can be used for the second and finish coats but it's too soft and prone to shrinking when used in a thick application like that required to cover metal corner bead. Work quickly when using setting compound to be sure it doesn't harden before you're done.
What You'll Need
- 1-5/8" to 2" Drywall Screws
- Metal Drywall Corner Bead
- Setting-type Joint Compound
- Ready-mix Joint Compound
- Putty Knife
- Drywall Joint Knife
- Mud Pan
- Tin Snips or Heavy-Duty Scissors
- Sandpaper
#1 - Cut the Bead to Length
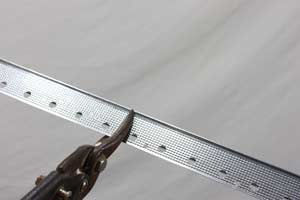
Measure the length with a tape measure and cut a piece of bead for each outside corner. Use a pair of tin snips or scissors to cut in from each side of the metal and then bend it in the middle to break it apart.
#2 - Attach the Bead with Drywall Screws
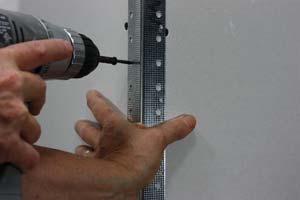
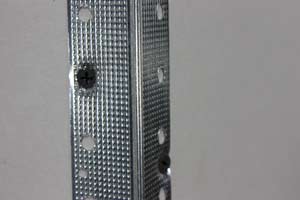
Hold the bead against the corner while pressing hard on the peak with your palm to flatten it tightly to both walls. Start near the top and drive a 1 5|8 or 2 inch drywall screw through one of the small holes in the metal and into the wall frame. Drive a screw into the opposite wall at about the same level but not directly across, to hold the bead in two places.
Sink the heads of the screws deep enough to slightly kink the metal and make a small depression in the drywall. If the screws are not driven far enough below the surface of the wall, the heads will show through the mud and be very visible.
Move along the length pressing at each point and driving the screws at about 12 inch intervals along both walls. Check to be sure the metal is flat the full length of the wall. Run a joint knife over it to check for any spring in the metal and drive a screw at any loose edges.
#3 - Cover the Corner with Setting Compound
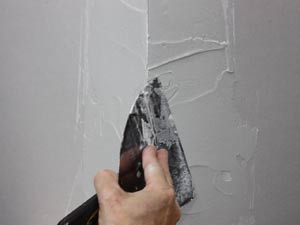
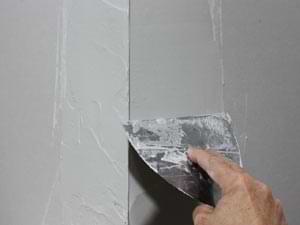
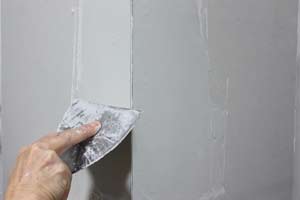
Use a 6 inch drywall joint knife to apply a thick coat of setting-type joint compound to the corner in crossing strokes along both walls from one end to the other. Use a very thick coat that covers all the metal and spreads well onto the the drywall.
Remove the excess mud to float a smooth surface into the corner. Rest one side of the knife blade on the bead peak and the other against the drywall. There will be a slight dip in the wall where the two meet, float the knife over this dip to fill it in with a solid coat of mud.
Stroke from one end to the other keeping the knife straight as it rides along both surfaces. Don't push too hard on the blade to avoid bending it and causing a depression in the mud coat. Float the blade to keep the mud as level as possible.
Float the other wall in the same way. Clean the mud off the joint knife frequently as you work to avoid buildup. When you finish, go back to the start and run the clean blade along the whole length of each wall again, in one smooth stroke to leave a level surface.
#4 - Smooth Out the Edges
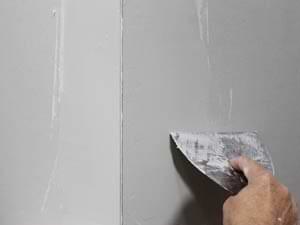
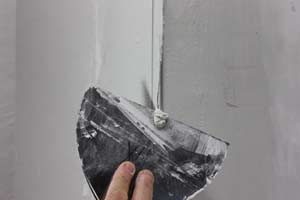
Skim along the wall edge of the mud to remove any buildup there and blend it flat with the bare drywall before moving on. This will ensure you don't have to do a lot of extra sanding at the edges when you're done. Sanding too hard at the edges can tear into the surrounding drywall paper, which would then need to be repaired.
Before leaving the mud to set, scrape the peak of the corner by running the knife blade upward to cut it off. When you're done, let the mud set completely before proceeding. Setting compound will harden anywhere from 5 minutes to over an hour depending on the type you use, so check the label or just wait until it feels solid.
#5 - Apply a 2nd Coat with Ready-mix Compound
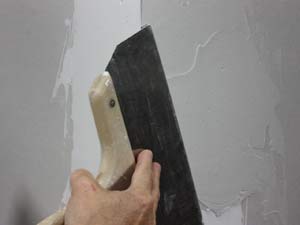
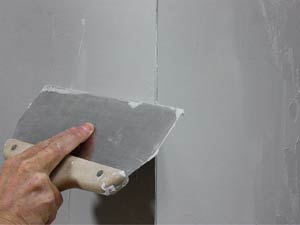
When the mud is completely hard, use a larger joint knife to apply a second coat using ready-mixed compound. First scrape over the hardened mud with the blade to knock off any rough spots and then apply a thick coat of compound onto both wall surfaces. Use crossing strokes to cover the corner completely and overlap the wall edges of the first coat.
Smooth the mud starting at one end and stroke all the way to the other. Use light pressure to avoid bowing the knife blade. Skim the excess mud from one wall at a time, working ceiling to floor, and then do the same on the other wall. Be sure to skim off the edges of the mud to feather it into the wall.
Go over the whole length of both walls again with a clean blade and very light pressure to catch any pits or scratches and smooth the surface. Let the mud dry for about 12-24 hours and check the finish. If there are pits and scratches in the dry mud, apply another coat and skim it off in the same way.
When the final mud coat dries, sand it lightly with medium grit sandpaper using light pressure along the edges to avoid tearing into the drywall paper.
 Finishing Inside Drywall Corners
 Finishing Paper Drywall Corner Bead