How to Finish Drywall Butt Joints
by: Dale Cox
This page contains instructions for finishing drywall butt joints using fiberglass mesh seam tape. New drywall installation will produce few butt joints like this because the sheets are generally joined along the finished edges which will produce a recessed joint. Finishing recess joints is covered at this link. If, however, you find the need to finish two sheets of drywall that have been butted together out of necessity, the process for finishing them is a bit different than for recess joints. Check here for a video demonstrating this drywall finishing technique.
What You'll Need
- Fiberglass Mesh Drywall Tape
- Setting-type Joint Compound
- Ready-mix Joint Compound
- Drywall Joint Knives
- Mud Pan
- Sandpaper
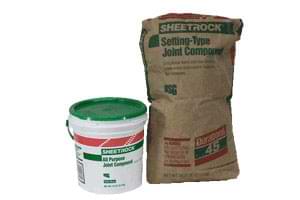
Use setting-type joint compound, also called mud, for the first coat on these joints and ready-mixed for all subsequent coats. The main difference between the two is the hardness of the finish and the time it takes for the mud to dry. Setting-type will set, depending on the grade used, anywhere from 10 minutes to an hour and be very hard, while ready-mixed can take as much as a day to dry and the finish will be softer in comparison.
#1 - Tape the Drywall Seams
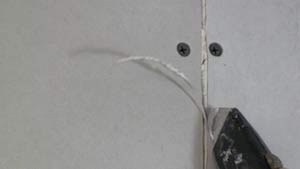
When drywall is butted together, it's usually to patch a hole or irregular space in the middle of a sheet. In these cases, the paper edges of the drywall will often be slightly jagged or torn.
To correct for this, use a sharp utility knife to trim any ruffled or torn paper on both sides of the butt joint. Cut cleanly to form a V shape between the two pieces. Make sure the blade is sharp to get a clean cut along the entire length of the paper.
If you have several butt joint to finish, it's best to do them all before going on to finish any inside drywall corners at ceilings and adjacent walls, otherwise it can be difficult to blend the two different types of seams together.
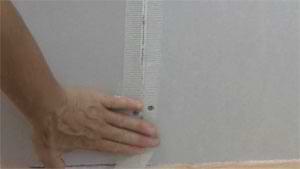
Start at one end of the joint and unroll the tape over the seam. Pull it taut and press it down as you go so the tape lays perfectly flat on the drywall. Cut the tape off squarely at the end.
#2 - Apply a First Coat of Joint Compound
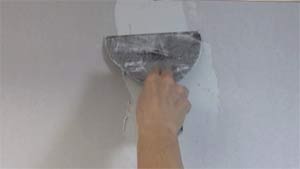
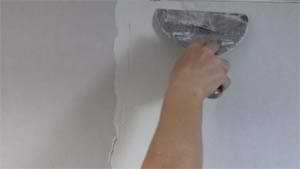
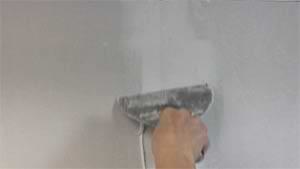
Use a small joint knife to apply about ½inch of setting-type joint compound over the tape and drywall. Spread the mud so it overlaps onto both sides by a few inches. Go over the whole joint from one end to the other to cover it completely.
Hold the knife at about 30° and immediately go back over the joint again to smooth out the mud. Skim off at the sides first and then go over the center and tape. Press down firmly to leave only a very thin coat mud.
Avoid using excess pressure that digs into the tape fibers and clean the excess joint compound from the knife blade at the end of the stroke. At the end of the joint, stroke back into the opposite direction to blend finish.
When you've skimmed the mud smooth, go lightly over the tape with the blade again to catch any bubbles or pits in the surface. Let the mud set and harden before applying the next coat.
#3 - Apply a Second Coat of Joint Compound
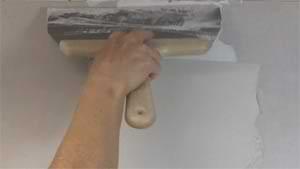
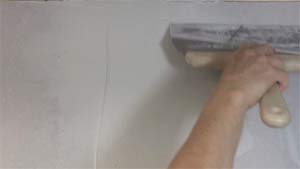
When the first coat is completely dry, lightly sand the raised tape-fibers using a medium grit sand paper. Go over the tape with a couple of quick strokes to just remove the rough tape fibers. Don't try to sand the joint compound smooth at this point. Wipe or vacuum the sanding dust off the wall before proceeding.
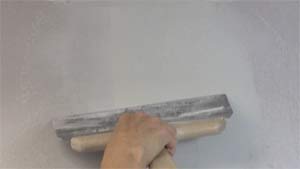
Using a larger joint knife, apply a second thick coat of mud from one end of the joint to the other using ready-mixed joint compound. Cover the tape and spread the mud out to overlap the edges of the first coat onto the surrounding drywall.
Immediately go back over the seam using the joint knife to skim off the excess mud leaving a smooth, level covering. Skim along the sides first, and then go over the center tape. Avoid pressing too hard on the knife to prevent bowing the metal blade. At the end of the joint, stroke in the opposite direction to blend the finish.
When the finish is smooth, go over the mud a second time with the knife to catch any bubbles or pits in the surface. Use light pressure in one complete stroke from one end of the seam to the other. Check that the mud edges on both sides of the joint blend smoothly into the drywall surface. Let the mud dry completely before attempting to sand it.
#4 - Sand and Prime the Drywall
When the mud has dried, run your hand over the seam to be sure the tape fibers aren't still detectable. Also, examine the seam to see if the tape is visible under the mud coat. The mud may shrink a bit where you cut a V between the drywall sheets. If there any visible tape or you can feel the mesh with your hand, apply another coat of joint compound using the same technique used in the previous coat.
When the joint is smooth and the mud completely dry, sand it using the techniques described at this link to smooth the surface and feather the edges into the surrounding wall. Be careful sanding along the edges not to dig into the drywall. When you're done, wipe the sanding dust away with a damp cloth before priming and painting.
If there are any small pits or scratches in the finish, use a high-build drywall primer for the first coat of paint. Otherwise regular drywall primer will do as a first coat if you're using flat latex finish paint. If you are using semi-gloss or another shiny paint for finishing, use a high-build primer or 2 coats of regular drywall primer first.
 Finishing Inside Drywall Corners